(Translated with www.DeepL.com/Translator (free version))
I've been trying to use the Voiceflow Dialog Management API and was able to embed a chatbot into a website.
目次
Disclaimer
- This is for demo purpose, not fully tested, might be some bugs there. Using for production, should test and fix by yourself if needed.
- The codes are available on GitHub. You can use under MIT license.
- Feedbacks and PR always welcome!
- I accept no responsibility to answer questions always, supports, fixes or updates.
- I accept no responsibility for any loss resulting from your use of this program. Use at your own risk.
Thanks
- chatux(https://github.com/riversun/chatux)
- using as frontend chat UI Library
- MIT License
- Copyright (c) 2017-2019 Tom Misawa Tom Misawa
- いらすとや(https://www.irasutoya.com/)
- using as chat Icons
- Terms and Conditions
- Copyright © いらすとや. All Rights Reserved.
Prerequisites
You will need the following:
- A project created with Voiceflow and an API key
- The website where you want to install the chatbot
- Heroku account
I will explain them in order.
1. A project created with Voiceflow and an API key
Make sure you have created a project in Voiceflow. The project type will be the "Chat Assistant" type.

Create a conversation flow. Make sure to test that it works as expected. Don't forget to train the dialogue model.


Once you have created it, you will need to obtain an API key.


2. The website where you want to install the chatbot
Of course, you need a website where you want to install the chatbot. However, there are a few conditions to be satisfied.
- HTTPS must be enabled (It will not work with HTTP)
- You can embed custom HTML and JavaScript.
If you are using a Web hosting service and preparing your own content, or if you are running your own server and hosting your own content, both 1 and 2 are fine.
The problem is with 2.
In order to set up this chatbot, you need to be able to embed the <SCRIPT> tag, but many websites and blogs that are provided as services do not allow this, or disable it even if you embed it. There are also a few that do not allow it on the free plan, but do on the paid plan. For more information, please check the specifications of the service you are using.
This time, I will install WordPress on the following web hosting service by myself, and install a chatbot on it. By the way, I was able to install WordPress with a single click from the management screen of this servie.
3. Heroku account
This is required to build an app on Heroku to relay the interaction between the chatbot and the Voiceflow Dialog Management API. Deployment is almost a one-click process with the Heroku Button.
Steps to set up chatbot
So let's start! First of all, let's take a look at the blog.

This is a blog set up in WordPress. This is almost the default state. All you need is a domain name for your blog.

This domain is required as a parameter for apps to be deployed to Heroku.
Next, let's deploy the application to Heroku. Please access the following repository.
This is my GitHub repository for the app to be deployed to Heroku. There is a button "Deploy to Heroku" in the README, click on it.
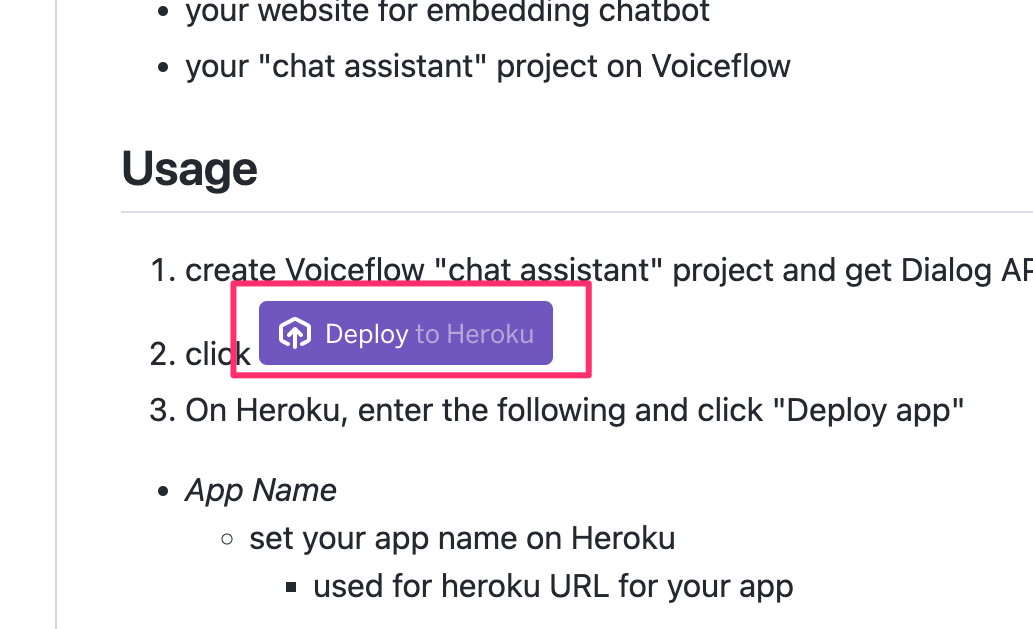
You will see a screen to start deploying to Heroku (if you get a login screen, please login first). There are several configuration items, so we will configure them in order.
The first step is to set the app name. You can give it anything you like. When the app is published, this name will be published under the domain APP_NAME.herokuapp.com. (You will need this domain later.)

Configure some settings in "Config Vars".
Enter the domain of your blog in FRONTEND_URL and the API key of the Voiceflow project in VF_API_KEY. The slash at the end of the domain is unnecessary.
The MAX_AGE is the chat session retention time, which means that the chat state is saved for this set time after the first access. This means that persistent variables and other information on the Voiceflow side will be kept. The default is set to 3600 seconds = 1 hour, so you can change it if you want.
Translated with www.DeepL.com/Translator (free version)

After entering the information, click "Deploy app" at the end.
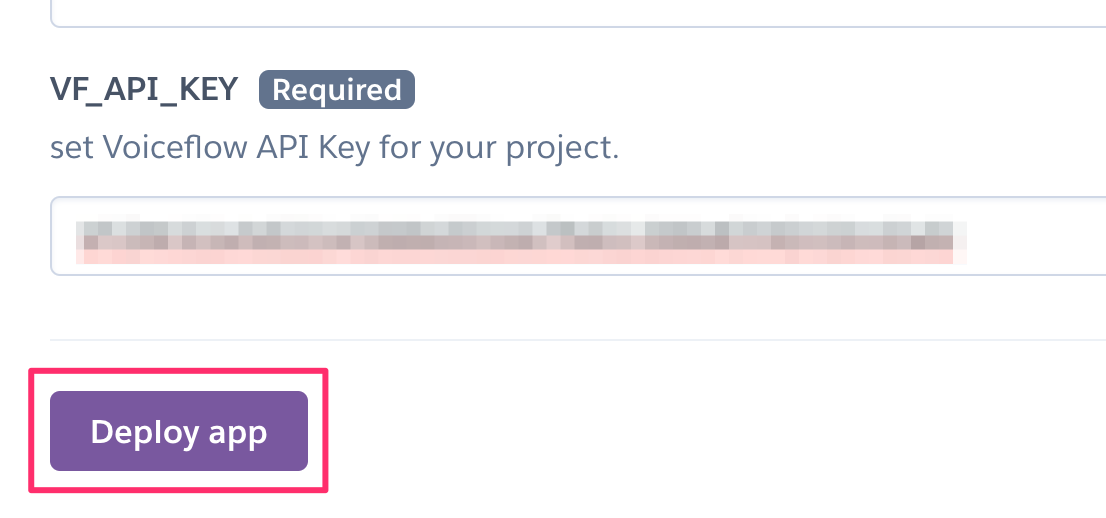
The application will be deployed, so wait for a while.

If you see "Successfully deployed" as shown below, you are good to go. Click "Manage App" to display the app management screen, and click "View" to access the app in a browser. Let's click "View" to see the domain of the app.
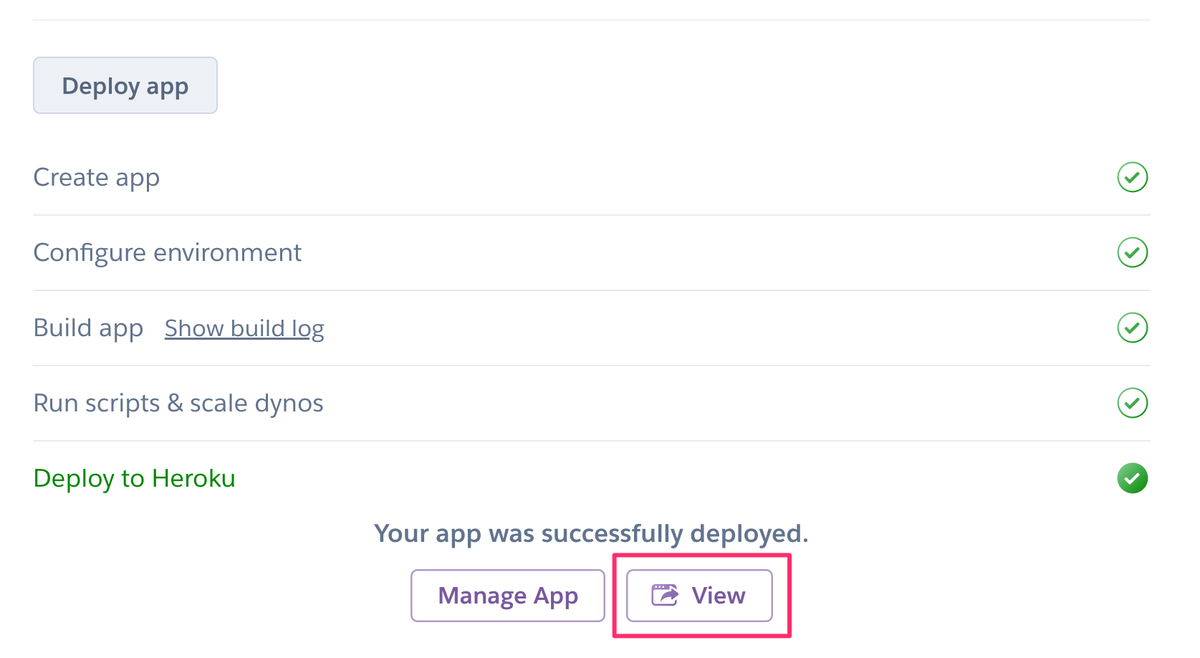
There is an error message, but don't worry about it. At least the error screen is coming back, which means the app is working. What we need here is the domain name of this app. You will need it later to set up the chatbot, so please keep it in a safe place.

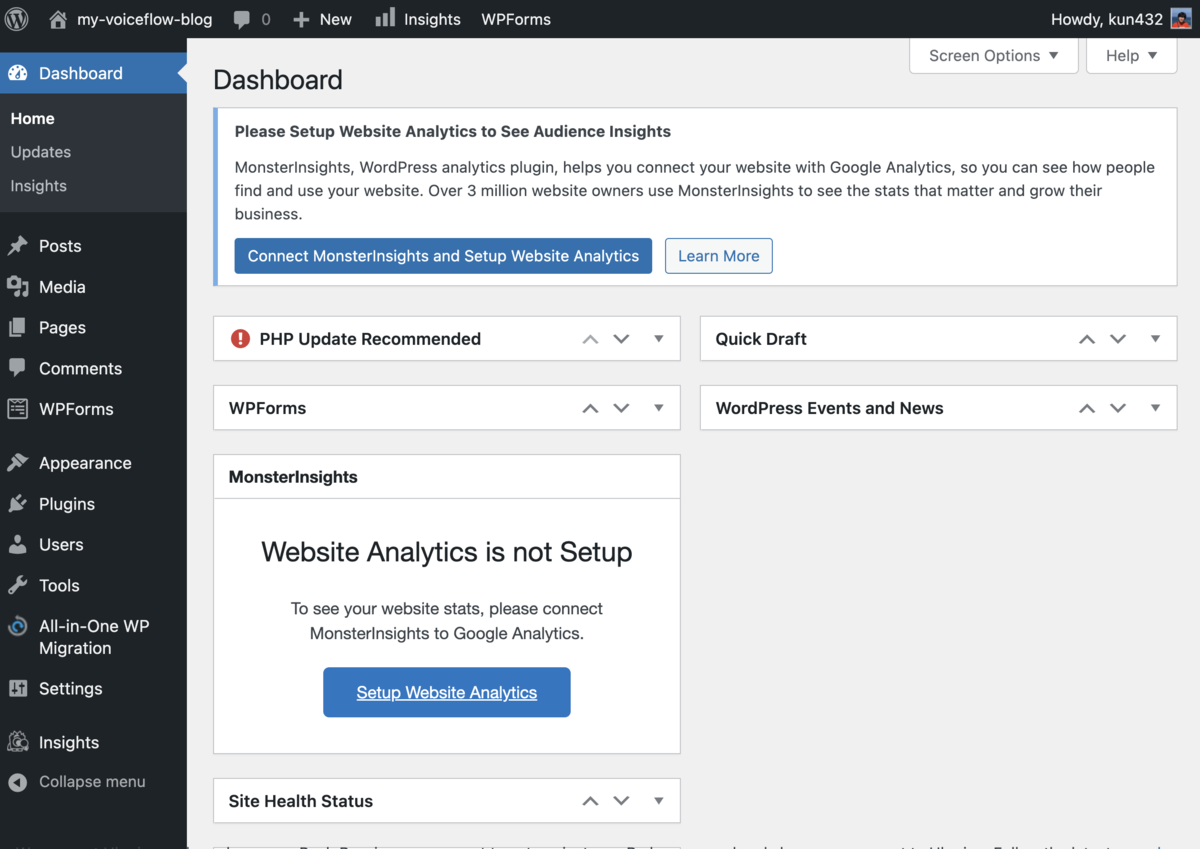
Now let's install the chatbot on your blog. Since we are using WordPress, we will open the WordPress admin panel and embed the HTML/JavaScritpt there.
First, open the admin panel.
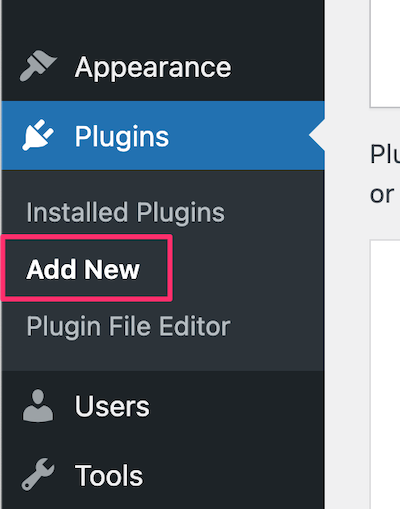
There are many ways to embed custom HTML/JavaScript in WordPress, but let's use the plugin "Insert Headers and Footers by WPBeginner" to easily embed HTML in headers and footers.
From the menu on the left, click "Plugins" -> "Add New".
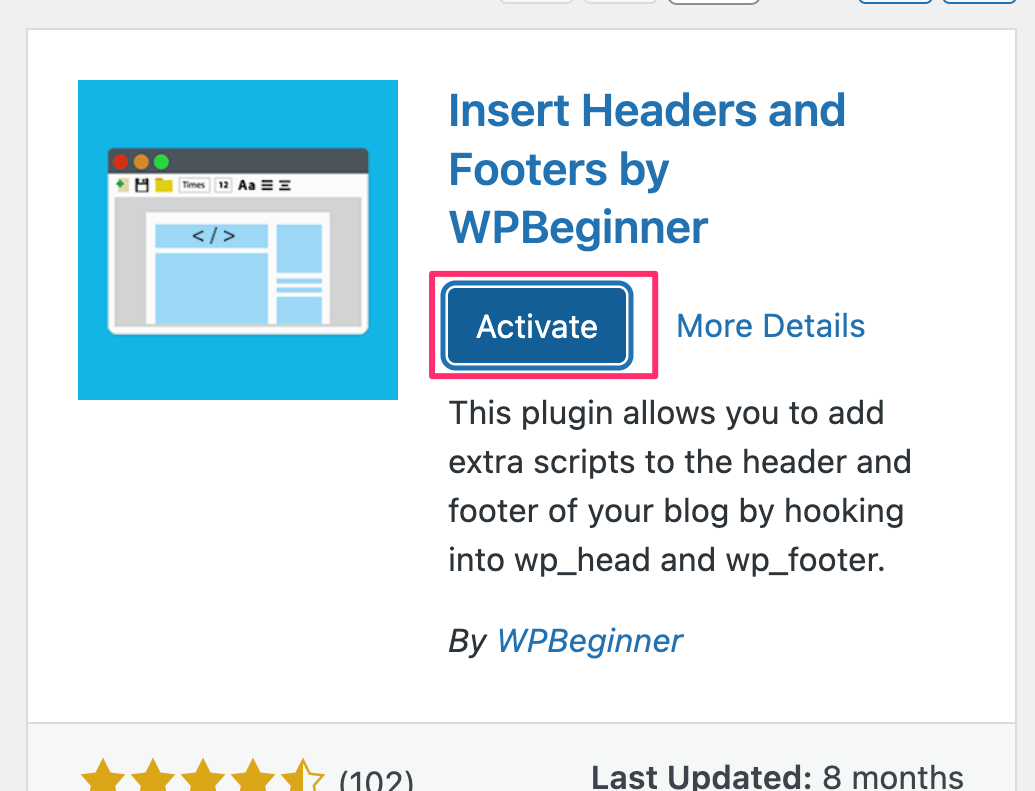
Try searching for insert header footer or something similar.

Now click "Install Now".

After the installation is completed successfully, you will see the following screen. Click "Active" to activate it. The installation of the plugin is now complete.
Now let's embed HTML/JavaScript using the plug-in. Click on "Settings" in the menu on the left to see the settings for the "Insert Headers and Footers" plugin, and click on it.
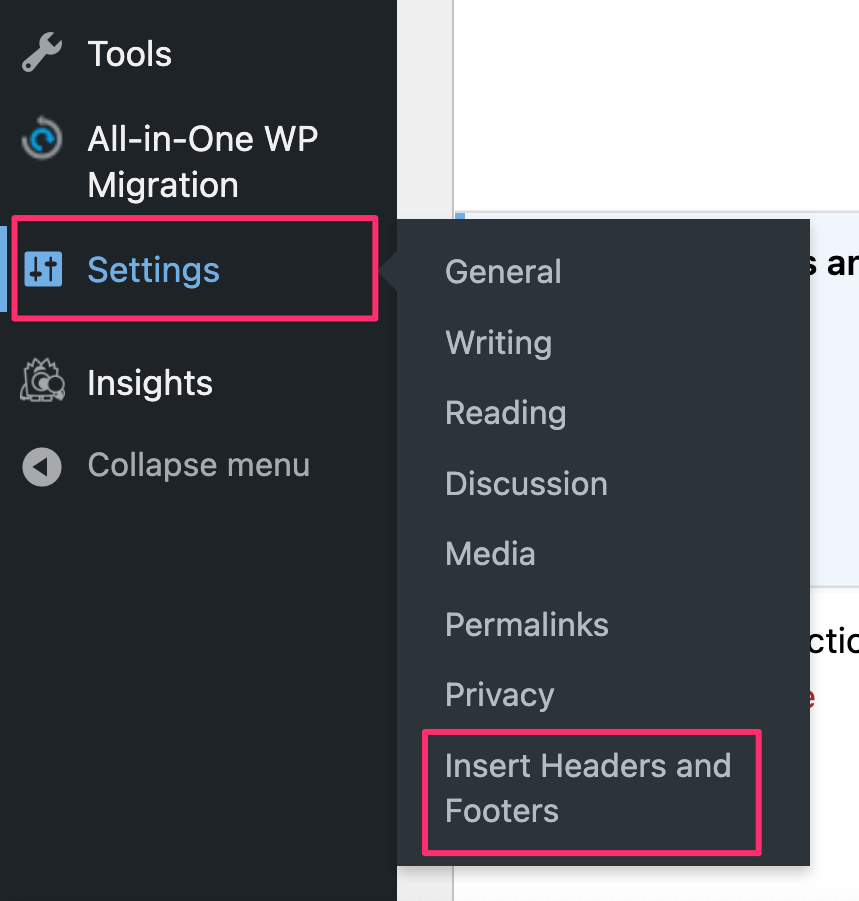
The configuration screen for the "Insert Headers and Footers" plug-in is now displayed. If you embed HTML/JavaScript in the input field here, it will be reflected. You can set it for the header, body, or footer, but let's set it for the footer this time.

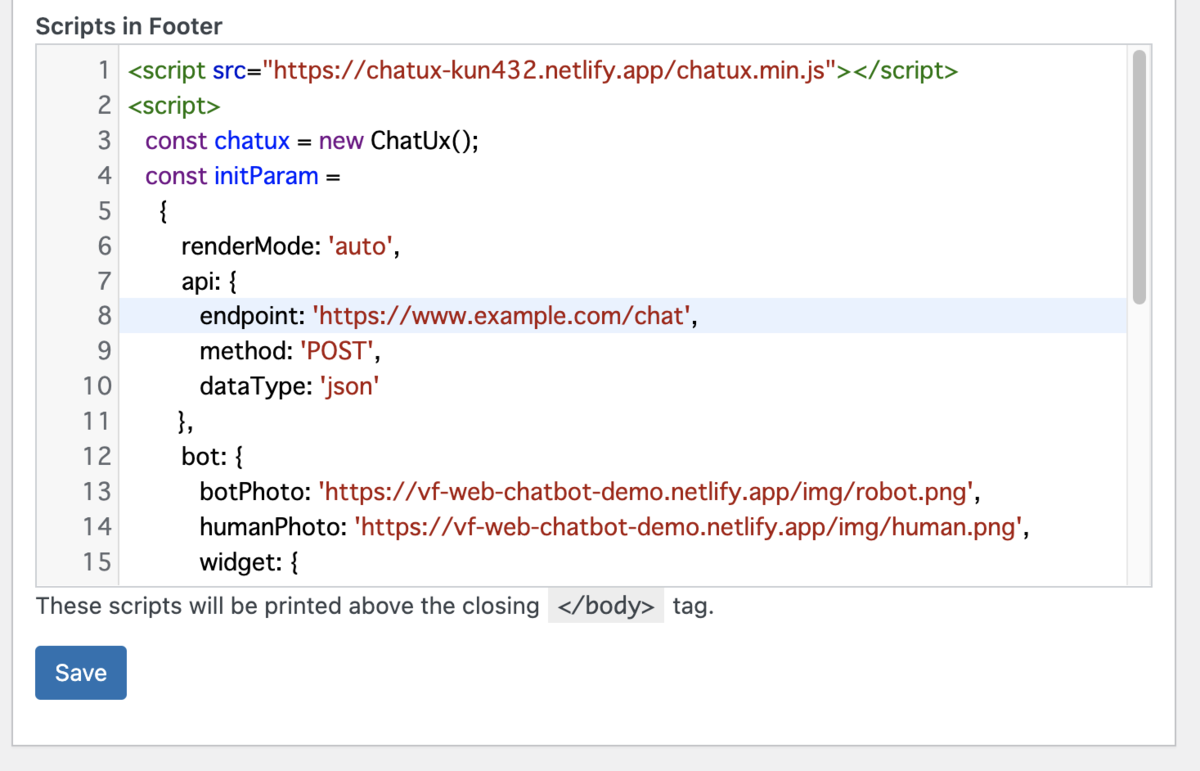
Scroll down and copy and paste the following into the footer entry field.
<script src="https://chatux-kun432.netlify.app/chatux.min.js"></script>
<script>
  const chatux = new ChatUx();
  const initParam =
    {
      renderMode: 'auto',
      api: {
        endpoint: 'https://www.example.com/chat',
        method: 'POST',
        dataType: 'json'
      },
      bot: {
        botPhoto: 'https://vf-web-chatbot-demo.netlify.app/img/robot.png',
        humanPhoto: 'https://vf-web-chatbot-demo.netlify.app/img/human.png',
        widget: {
          sendLabel: 'Send',
          placeHolder: 'type something'
        }
      },
      method: {
        credentials: 'include'
      },
      window: {
        title: 'demo chatbot',
        infoUrl: 'https://github.com/kun432/voiceflow-dialog-management-api-sample-webchat'
      }
    };
  chatux.init(initParam);
  chatux.start(true);
</script>
It's like this.
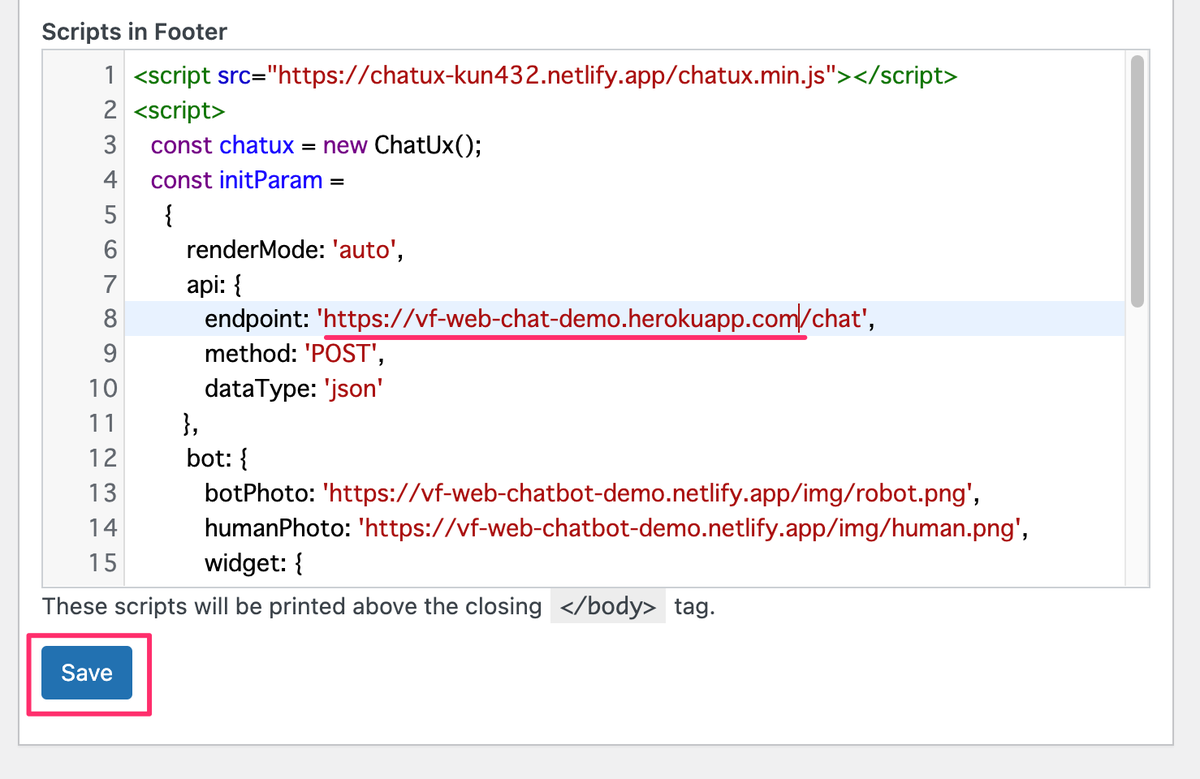
And change only one part. Change the URL in the above endpoint: ~ to the domain you got from Heroku. Leave the /chat at the end as it is. In this example, it looks like this. Click "Save" after making the changes.
You are now done.
If you open the blog and reload it, you will see a window for chat.

Try typing something, and if you can follow the conversation flow created by Voiceflow, you're done!

One more thing:
This is the MIT licensed product and frontend chat UI library "chatux" too. If you use this, please state copyright and links to MIT license notices somewhere in your website.
Powered by <a href="https://github.com/kun432/voiceflow-dialog-management-api-sample-webchat" >@kun432/voiceflow-dialog-management-api-sample-webchat</a> <br />
released under the <a href="https://github.com/kun432/voiceflow-dialog-management-api-sample-webchat/blob/main/LICENSE">MIT license</a><br />
Copyright (c) 2022 Kuniaki Shimizu (kun432.8d1w@gmail.com) <br />
<br />
Powered by <a href="https://github.com/riversun/chatux" >@riversun/chatux</a><br />
released under the <a href="https://github.com/riversun/chatux/blob/master/LICENSE">MIT license</a><br />
Copyright (c) 2017-2019 Tom Misawa Tom Misawa
Enjoy!